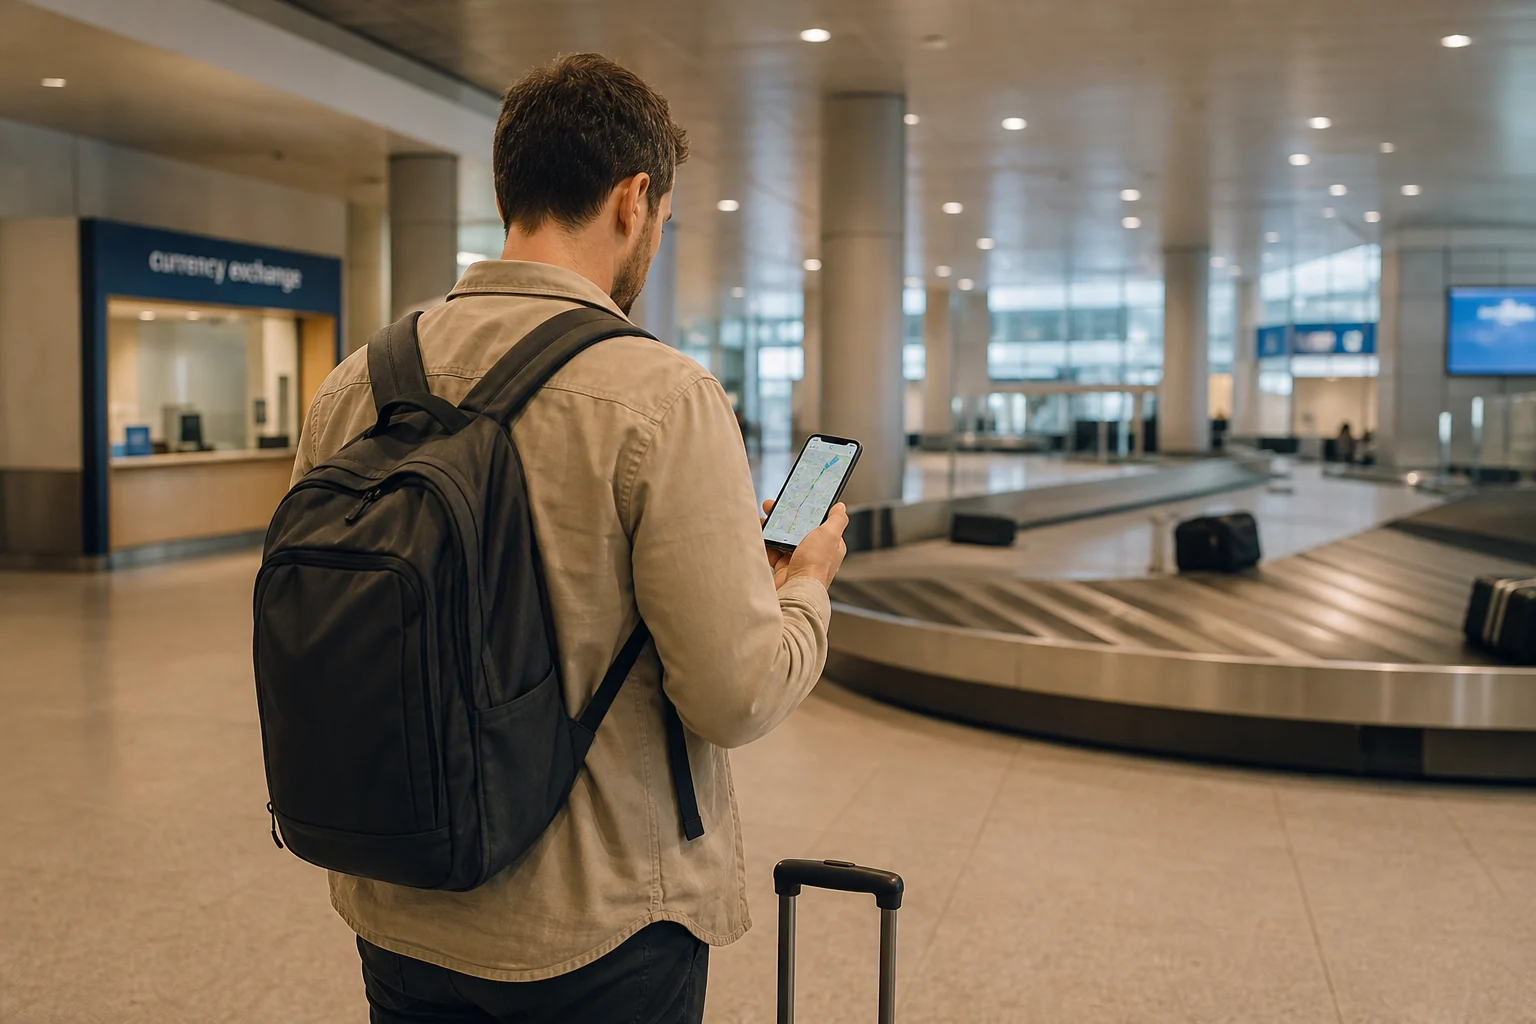
At the airport, the first things to take care of when you land can make a simple decision feel larger than it is. You have made it through the flight and the immigration line, but now you are tired, your luggage is somewhere behind a wall, and the familiar tools in your pocket may not be working yet.
The first hour does not need a packed checklist. This is about getting functional: enough local cash for immediate basics, a working phone, your bags, and a clear way to reach your lodging. Once those pieces are in place, the airport becomes the beginning of the trip instead of one more problem to solve.
Pause before you make the first decision
After immigration, take a minute before joining the next line. Check that you have your passport, wallet, cards, lodging address, and any pickup instructions. Open the confirmation message for your hotel, transfer, or rental car while you still have airport Wi-Fi. Save a screenshot of the address and meeting instructions in case the connection disappears later.
This is also a good time to decide what must happen now and what can wait. You do not need to find the best restaurant, understand every transit route, or plan tomorrow. You need a drink, a working phone, your luggage, and a safe route to where you are sleeping.
Get only the cash you need
Airport currency exchange counters are convenient, but convenience is not always the same as a good rate. I still like having a small amount of local cash before I leave the airport. It can cover a drink, a tip, a small transit purchase, or a backup payment if your card or app does not work right away.
For me, $50 to $100 is a personal starting range, not a universal rule. The right amount depends on the destination, your transfer, how widely cards are accepted, and how long it will be before you can reach an ATM or bank. The important part is to avoid converting your whole trip budget at the first counter you see.
Read the exchange screen before agreeing to anything. If the rate or fee is unclear, convert less. You can make a more informed decision after you have rested, checked local options, and understand how you will actually be paying during the trip.
Get connected before leaving the terminal
Once your phone has data, the rest of the arrival process gets easier. You can pull up your lodging information, use a map, contact a driver, check an address, or use a translation tool without hoping airport Wi-Fi follows you outside.
Your options may include a travel eSIM, a local physical SIM, or an international plan from your home carrier. I personally prefer a physical SIM when it makes sense because my phone can handle more than one SIM/eSIM option, but that is a preference—not a rule. Check your phone’s compatibility and carrier-lock status before you travel. Also confirm whether the plan you choose needs an app, ID, activation code, or a data connection to finish setup.
If you buy a SIM at the airport, test it before walking away. Open a map, send a message, and make sure the phone is using mobile data. A two-minute test at the counter is easier than troubleshooting outside with luggage and no connection.
Collect your luggage, then confirm the pickup plan
Once you are connected, head to baggage claim and keep your pickup details ready. If you booked a driver, look for the exact meeting instructions rather than assuming they will be at the doors. Hotels, shuttles, rental-car desks, taxis, and rideshare pickups can all use different areas of the airport.
Keep the lodging address available offline even if you think you know it. A tired traveler can easily give a driver the wrong hotel name, miss a terminal detail, or discover that two properties have similar names. A screenshot, saved note, or printed confirmation solves that quickly.
If your bag does not arrive, handle the airline report before leaving the baggage area. Keep the report number, baggage-tag receipt, and delivery instructions somewhere you can find them later. It is frustrating, but having the paperwork done before you leave gives you more room to focus on getting settled.
Do not let tiredness choose your transportation
The people offering rides outside an arrivals hall are not automatically a problem, but tiredness makes it easy to accept the first option without understanding the price or pickup process. Give yourself a moment to choose.
Use an official taxi line, a pre-booked transfer, airport transit, or an established rideshare app where it is permitted. Some airports use designated pickup zones or restrict where rideshare drivers can meet passengers, so check the app, airport signs, or an information desk before walking outside. If you speak the local language, it can also help to politely ask airport staff or your hotel about normal transportation options.
Do not assume every taxi driver is trying to scam you, and do not assume every rideshare pickup works the same way. Rates, access rules, and payment expectations vary by airport. The calmer move is to understand the option in front of you before the car starts moving.
The simple arrival checklist
Before you leave the terminal, make sure you have:
- A small amount of local cash or a working payment backup
- Mobile data or a reliable connectivity plan
- Your luggage, passport, and lodging address
- Confirmed pickup or transport instructions
- Water, food, and enough patience to slow down
Then stop planning for a while. The airport is not the trip. Once you have reached your lodging, eaten something simple, and had a chance to breathe, the rest of the itinerary will feel much easier to handle. For the next step, read Plan the First 24 Hours.